 |
|||||||||||||||||
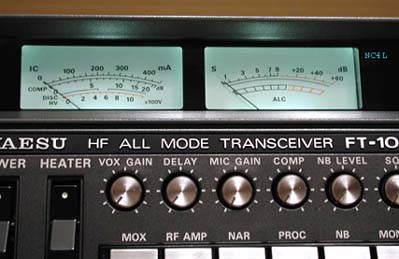
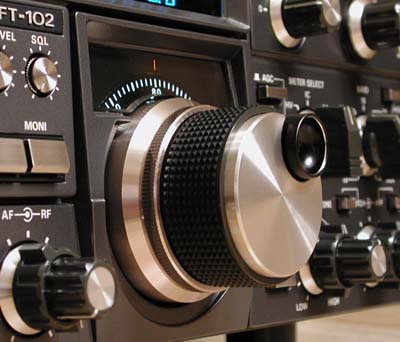
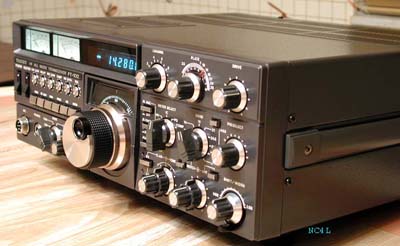
Yaesu FT 102
last modified
11-18-08 |
|||||||||||||||||
Yaesu FT 102
Hi,
My name is Mal Eiselman and I love to work on the
Yaesu FT 102. My calls are NC4L and I hold an extra class license.
I would like to think that I know every secret of
this radio yet each time I work on another Yaesu FT 102 I learn something new -
some little fact or some new way of getting to a bad
component with a minimum of keystrokes without causing collateral damage
(which is easy to do in the 102).
As the radio has aged I see new maladies that pop up
that were not noted in the past years. One of these is a
noisy 24 Volt supply. The problem is that the two capacitors that are on the
input and output of the 24 V supply dry out because
they are in a
hot area - typically running at 65 C. This permits high frequency noise to be superimposed imposed on the voltage
which runs the front end. That noise competes with
weak incoming signals and causes about a 6 dB loss of
front end sensitivity.
Very few people would be aware of this because with a
good antenna, band noise would cover up the ability to
easily discern the problem. However, I know it is there because I measure the
front end sensitivity of every radio before it is
completed. I have also found a way to see the noise on the 24 Volt supply line
with my scopes as the noise usually runs at 2 mv peak
to peak when the caps are OK and 5 mv when they are dried
out. The repair of course is to replace both capacitors. Usual
ratings on these capacitors are 85 degrees C and 35 Volts. I always use
105 C and 50 Volt ratings on the replacement caps so
that the problem will never occur again.
This is a new malady but there are many that are
usual - not just the relays but poorly crimped interconnecting cables and
areas where cold solder joints and fractured joints
regularily occur. When I blue print a radio, I now quadruple stress test
(sorry but I am a retired cardiologist) the signal paths in receive and transmit and that procedure shows any
remaining problems regarding signal transmission
within the radio. That is a form of vibration or percussive testing and I do
that four different ways.
In the future I will be placing several pages on how
to repair things yourselves or do modifications (two are
already up) on the 102.
73 and watch for the photo pearls to
come,
de NC4L Mal
See below for bulb change instructions or click on
link to return to home page.
|
|||||||||||||||||
 |
|||||||||||||||||
 |
|||||||||||||||||
 |
|||||||||||||||||
 |
|||||||||||||||||
How to change the meter lamps in the Yaesu FT
102
To change the 102 meter lamps ----4/05/03 ----
please read all the instructions first before starting.
-Open top case only - 6 screws
from the case but also loosen the handle cover screws two full turns to permit having the upper cabinet case to come up.
Remove the speaker leads (push on connectors) and place the upper cabinet
aside.
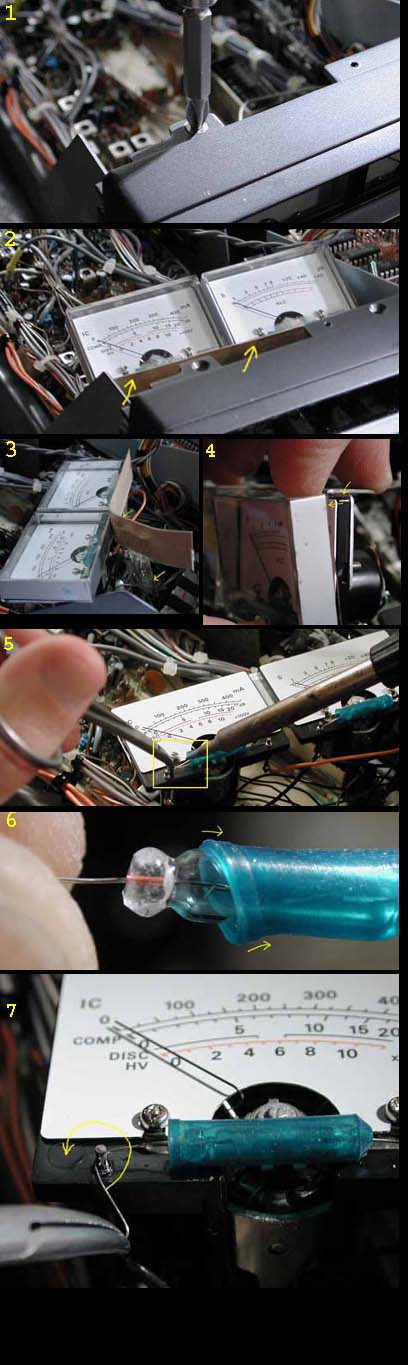
-Remove two screws holding the
meter assembly in place
(1).
-Carefully remove the brown tape
(2&3) and the scotch tape that seals the bottom of the meters. Remove all of the clear plastic tape from the bottom of the
meter housing. Discard only the clear plastic tape as you will be reusing the brown tape
later.
-(4) With your fingernail pull at the top of the plastic meter housing
until it pops off
-Unsolder the old bulbs (5) from the posts. Be careful not to use too much heat or the
plastic will melt and the pins will migrate or fall
out. A hemostat or small needle nose pliers (5) will help you remove the wires from the pins. Use these to grasp
the wire firmly at the end closest to the post. Heat the joint and when the solder
begins to melt firmly pull the wire off the post
(5)
-Carefully remove the blue plastic
boot on the old bulb: If you have bulbs with the boots installed these next few steps are not necessary so proceed to the
fourth paragraph down which starts with "Grab the lead".
Method 1 - (6) Shimmy the open end of the old boot back across the bulb by
grasping the bulb and boot between your thumb and
index finger. Hold the lead to the bulb with a hemostat so that you have something to pull against. Work
one edge at a time - first your thumb and then your index finger - like swimming or climbing
down a ladder. Be gentle at first and then apply more pressure if it doesn't move. It
should move only a small but visible amount each time so keep working at it with persistence and
it should come off.
Method 2 - roll the open edge old boot back while
turning it inside out (forgive me but as in removing a condom). These two procedures are the
hardest part of the replacement. It may help if you place the old bulb in some soapy
water if you have no success with either method the first time
-Then rinse and dry the blue plastic
boot and place it onto the new lamp.
-Grab the lead from the new bulb
(blue boot installed) with the very tip of the hemostat (7) and wrap it around the post. Do the same on the other side of that
bulb and then do the other meter. Adjust the position of the bulb until the filament is
in a position midway between the two posts and then solder the lead to the posts at all
four positions. An easier way is to tack the wire onto the post with solder and clip the left over
lead.
-Then take some scotch tape and
rub the sticky side of the tape along the blue plastic boot to remove any dirt or fuzz from the plastic boot. Now clean
the meter face and the meter cover (both inside and out) and replace the clear plastic
cover by snapping it into place. Apply some scotch tape along the bottom of the meter to seal
it from dirt and cover the small hole in the front of the meter housing with the same
piece of tape. This edge of the tape should be trimmed with a scissors prior to covering the
hole so that it just fits over the hole. Reapply the brown tape to the underside of the meter housings
(acts to baffle the light) and put everything back together (don't forger to reattach the
connectors to the speaker and VERY gently tighten the handle cover screws).
It is important to remember four
things:
A. - Don't apply too
much heat to the posts.
B. - Don't over
tighten the handle cover screws - just very slight pressure or they will
crack.
C. - Be very gentle
but persistent in removing the blue plastic boots from the old
lamps.
D. - If you have no
audio from your radio's speaker check that you reattached the speaker leads.
These instructions should get you
thru the procedure without a mishap.
73 and good DX and if you need help call
1-954-961-2034 in the evenings.
By the way if you need the photos
enlarged contact me via email at "NC4LMal@aol.com" and I can send you the nice large copies.
73 de NC4L
................Mal
| |||||||||||||||||
Copyright © 2004-2024 Mal Eiselman NC4L
26522